
Happy September!
Did you know that September is National Sewing Month?
How about Waverly Fabrics 90th Anniversary?
To Celebrate Joann's Fabric and Craft Stores are hosting a contest, the Waverize It! Challenge!
Fun? Right!

I was sent this fabric, and man is it gorgeous! The weight of the fabric, the colors, everything about this fabric is great! When I opened the fabric I could not believe the colors, they are so my style! For a couple days, I walked around going room to room to decide where I should use it. Living room? Dining room? Bathroom? Kitchen? Oh the possibilities were endless!
After really thinking about it, I decided why not jazz up my dining room.

I kid you not, these are our everyday dishes! I love my mismatched Fiesta ware!
And I love that the fabric matched it!
But I didn't want to do something traditional, not a table cloth, not window treatments.
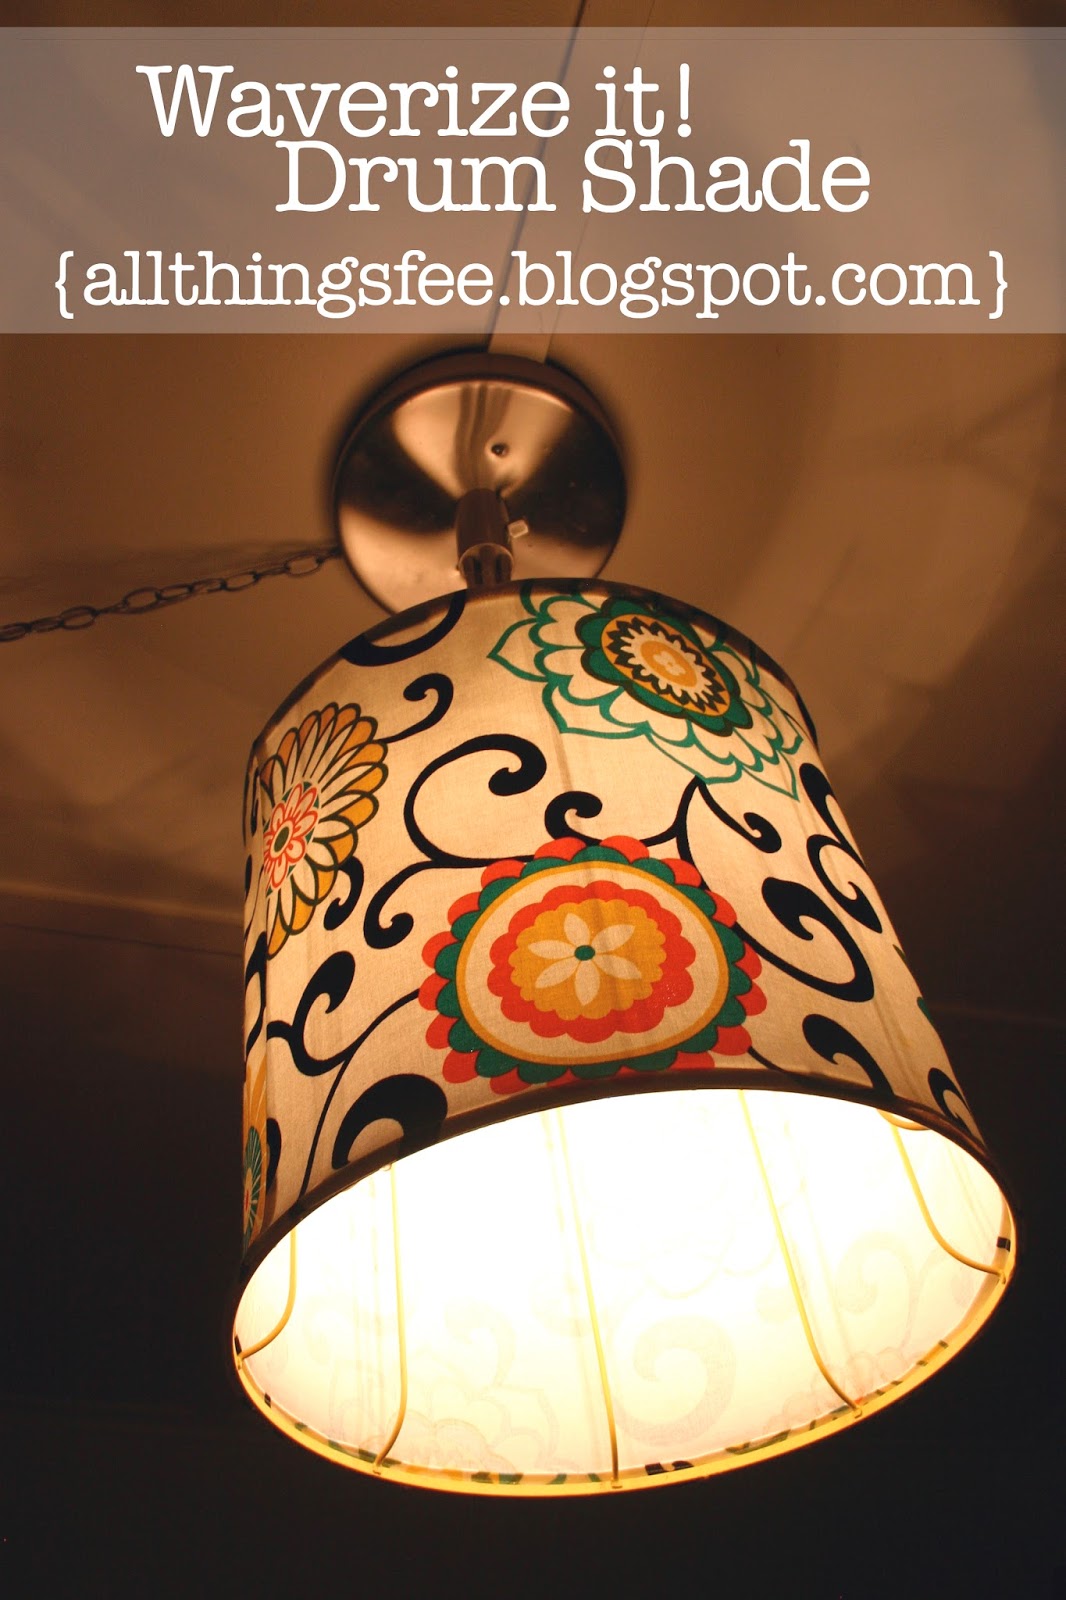
I wanted something unique.... how about a drum shade to update our light fixture?

What do you think?
Amazing right?
I think I hit unique and wow right on the head.
Everyone who has seen it has loved it! It's the first thing when you walk into the dining room that you see, heck, its the first thing you see when you walk into my house now!
To make the drum shade was pretty easy, so if you have never sewn.
You could sew this.
It's all straight lines!
And only 3 seams!
To make your own drum shade you will need:
A drum shade/frame
Fabric
Sewing Notions ( Sewing Machine, Thread, Scissors, Etc)
Hot Glue Gun & Glue

First thing first, prepare your shade/frame. I mentioned to my mother I wanted to update my light and she said she had a frame! Perfect! So she brought it over and I began to remove the fabric since I didn't think adding the fabric to the existing frame would allow much light through.

Once the frame was bare, I took some measurements. Actually, to be honest, I just took the fabric and wrapped it around the shade! The fabric is 54" wide so I was able to use that to go around my shade and then measured the height and cut my fabric into a rectangle.
Here is where the sewing comes in! Super simple.
You could probably do this with a hot glue gun if you don't know how to sew.
But I sewed mine, so here's how:
Taking my rectangle to my sewing machine, I hemmed the top and bottom edges.
This will be the top and bottom that you see all around my shade.
Once I got the edges finished I wrapped the fabric around the shade to double check where I needed to sew again to create my tube. The sewing gods were on my side for this project! I didn't have to cut any fabric, the 54" worked like a charm!
So back to the sewing machine! With right sides together, and my raw edges lined up, I sewed a straight line and created my tube!
At this point I was getting so excited! I couldn't wait to finish!

But as I looked at my frame, I decided that the tan color was too boring, and I was going for wow.
Yellow spray paint? Yes please!
Once my frame was dry, I brought it inside, plugged my glue gun in and starting lining the edge of my fabric up to the frame. I used some clothes pins here and there to help hold things in place.
As I was gluing I made sure it was tight.

What do you think? Love it?
I know I do!
Now, it's your turn to create something and enter the Waverize It! Challenge!
All you need to do is create a project using Waverize Fabric,
go to the Waverize It! Challenge and upload a picture!
The Challenge runs through September 22nd, so get going and enter!
Did I mention prizes? Fabric and a Joanns gift card? Every crafter's dream!
Thank you Joann Fabric and Craft Stores, and Waverly Fabric for this amazing opportunity!
I love my new lamp, and it has definitely inspired more of my own projects!
Disclosure: This post is sponsored by Joann's Fabric Store. I was given the fabric to create something that would be used as inspiration for their Waverize It! Challenge.

LOVE this fabric! So fun and pretty as a lamp shade!
ReplyDeleteI love your new shade and the fabric is beautiful!
ReplyDelete