Showing posts with label Holiday. Show all posts

Thursday, December 12, 2013

#Fabulouslyfestive Ornaments

I am so pleased to be working with Joann Fabric and Craft Stores to Celebrate the Season!

This month I was asked to create something #Fabulouslyfestive for the December holidays!
In an effort to use some of my glass ornaments, that are no longer safe on my tree, I came up with an out of reach for little hands solution!

What do you think?


So far I love it, and everyone that have come into my kitchen has loved it! 

Want to create you own?

You'll need:

A curtain rod
Ribbon
Scissors
Hot glue gun, Hot glue sticks
Ornaments
Don't forget your Joann's Coupon! 
 (at the end of this post!)

Ready to get started?


To start, I hung up my curtain rod. I measured down a foot from my ceiling and made a mark.
Then, I started my screw on the mark. Then added the hardware.


Next start adding ribbons!
I would put the ribbon over the rod, and then glue where the clip is in the picture.


Continue to add ribbons until your rod is almost full. For the length I just eyeballed different lengths, some short some long. Remember you can always cut shorter, so I went with longer and then adjusted after the next step!


Continue to add ribbons until your rod is almost full.


Lastly, add your ornaments! I just threaded the ribbon through, pulled the ribbon up the back and glued.
Just like I did for the tops.


At this time you can adjust the spacing, by sliding the ribbon along the rod,  and adjust the length of some of you ribbons.  Overall this is the hardest step! 

What do you think? 
I'm loving it! It's the perfect amount of color, and decorations for my kitchen! 
I also can't wait to add some non holiday decorations to the curtain rod!

Running out to make your own?
Don't forget your coupon!


Disclosure: This post is sponsored by Joann's Fabric and Craft Store. I was given a gift card to Joann Fabric and Craft Stores to create a #fabulouslyfestive for the Celebrate the Season Campaign. 

I can't thank Joann's Fabric and Craft Stores enough, for challenging me to Celebrate the Season! It has kept me on my toes, and added some wonderful holiday treasures that I plan to use for years to come!

Wednesday, November 23, 2011

Last Minute Thanksgiving Craft Ideas....

If so, you may have seen me pin some of these ideas!

Pinned Image


Pinned Image


Pinned Image


Or how about some freebies to keep the kids amused?
Pinned ImagePinned Image


Wishing you all a happy, healthy Thanksgiving! 
I am thankful for my family, friends, and all of you!

See you Friday, with a new Lifesaver!

Thursday, November 10, 2011

Save a Turkey Topper

It's that time again!
Another holiday is almost upon us!


These can be cut out and used as cupcake toppers, attached to napkin rings, or your place cards!


I might make cupcakes to bring to our Thanksgiving dinner, just for a laugh!

Enjoy!
In the shop!
For $4!


Tuesday, October 25, 2011

Eye of Newt...


"Eye of newt, and toe of frog,
Wool of bat, and tongue of dog,
Adder's fork, and blind-worm's sting,
Lizard's leg, and howlet's wing,--
For a charm of powerful trouble,
Like a hell-broth boil and bubble."
          -from Shakespeare's MacBeth

Each year I like to create one or two things for Halloween, Thanksgiving and Christmas. Here is what I made for my Halloween addition!


Cute? No?

Easy? Yes!

Let me confess something, I am a jar hoarder. Doesn't matter if its a nice old Ball jar, or a simple jelly jar from the store I keep them. And in my defense you never know when you will need one!  Today is an example of when you might need an odd shaped jar.

 The beginnings of  My witches' apothecary! 

I have a ton more ideas, and want to incorporate more but this is what I was able to make with what I had on hand!

Here's just how easy they were!

I spray painted all my lids black, let dry.

Next I started to look at my jars and found this ugly code on one of them.


Easy solution! I used black paint to make lines up the side to measure my blood! 


I made some tags for the jars using stamps and cardstock, tied them on with some twine and I am done!

What kinds of things would you expect to see in a witches apothecary?


 I'm thinking after Halloween, I will pick up some Vampire Fangs, and Spiders for next year.  Maybe find some plastic mice or frogs in the dollar store?  


Friday, October 21, 2011

Hopping on the yarn web wagon!

Carter and I made these spiders last week. 
They are just foam, and we added the eyes and black puffy paint.

And there that sat in their odd suspended glory. 


This morning, as an effort to get decorating ( I did go in the basement to grab the decorations, so hopefully today) we made a spider web, just like I've seen all over the web. ( Yup. Had to.)


It's a little better.  Hopefully by the end of the day, it will feel like fall and Halloween in here. Hopefully. 


Friday, April 22, 2011

Happy Accident!

The other day I was working on a recipe that called for real butter ( which we rarely have in the house) and it needed to be soft, so impatient me said "oh just stick it in the microwave." 
Ugh. Bad idea. I got enough that was still soft and solid but then the rest was all liquid.

Butter Bunny

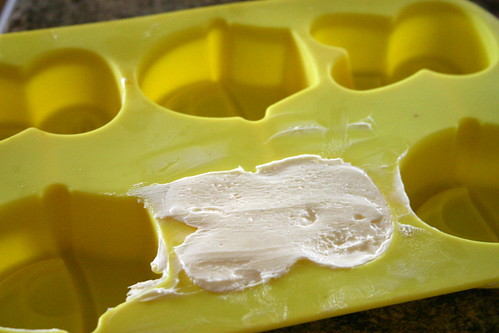
To not waste the butter, I put it in a silicone mold I had and wouldn't you know. It worked!
So, on Sunday we will have Bunny Butter with our rolls!

It reminded me of the rose butter mold my grandmother had oh so many years ago!

Have a happy and healthy Easter! 
See you all on Monday!

Tuesday, April 19, 2011

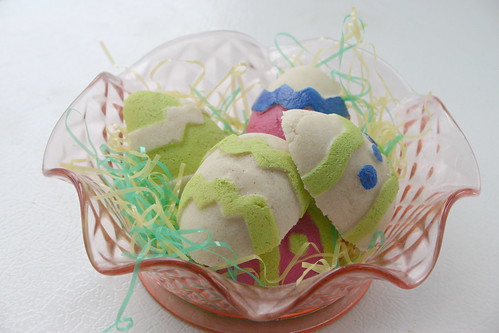
Decorative Easter Eggs!

Each year I meticulously or not meticulously blow out eggs to dye.  And that's all fine and good, but then you have to either throw them out, or hope they don't rot by next year.

So after my successful candy corn and conversation hearts, I said why not!

Painted Pretty!

Using the same steps as the corn and hearts, you create your dough.
1 Cup Salt, 1 Cup Flour and 1/2 Cup water.

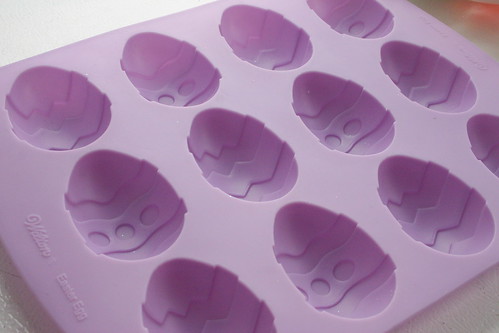
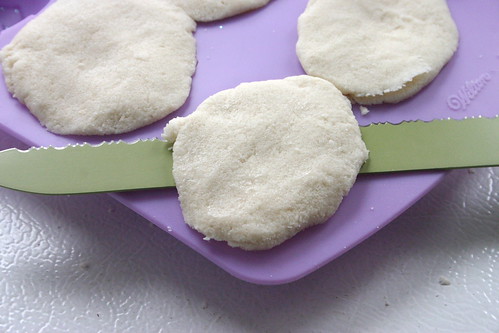
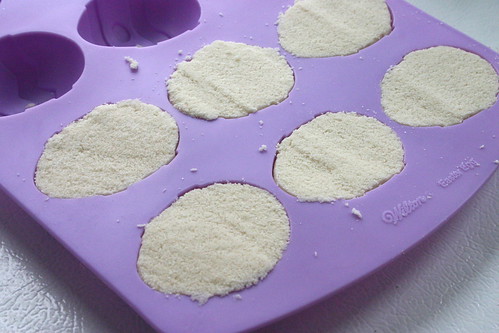
Then instead of free forming or cutting out my eggs, I used a mold I was given.

Easter Egg Mold

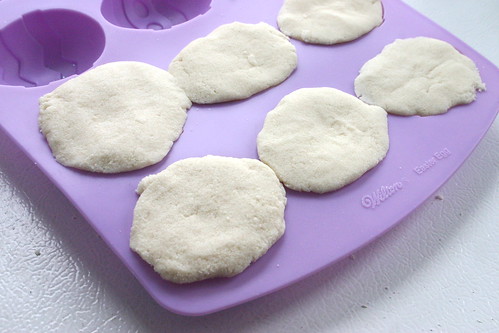
I just filled by hand until overflowing...

Fill with Salt Dough

And trimmed with my bread knife...

Trim Tops with knife

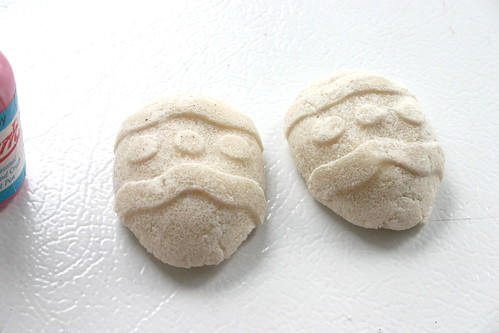
And they are ready to go in the oven!

Ready to dry out

Place on your baking sheet and stick in your preheated oven 400 degrees ( that is now off) and leave in over night!

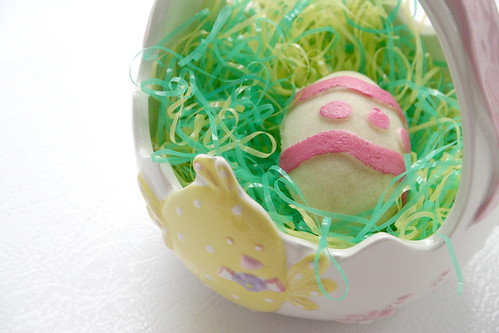
Dried and ready to paint!

Paint and enjoy year after year!

Painted Pretty!

Friday, April 8, 2011

Yarn Egg Wreath

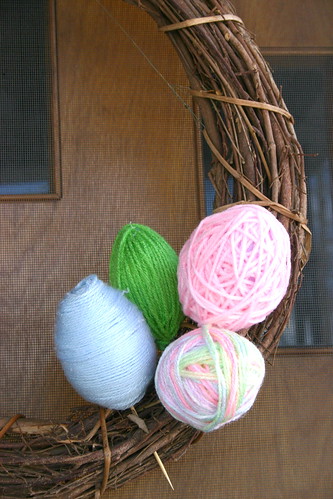
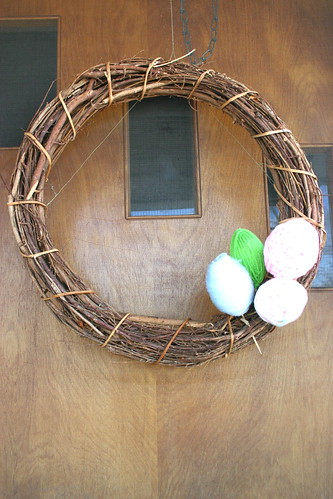
What do you think of my yarn eggs on my wreath? I feel like I want to add something a little more but haven't found the perfect something.

I only made enough (so far) for my wreath but these would be cute in a bowl also!

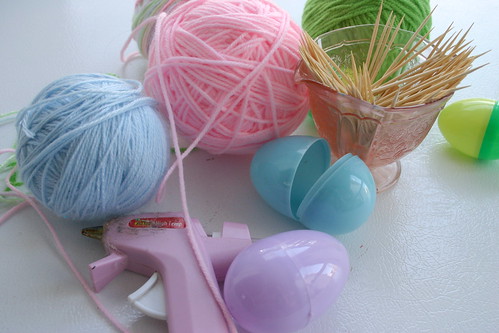
Here's what you need:
Plastic Easter Eggs
Yarn
Tooth Picks or Skewers
Safety Pin
Hot Glue, Or Elmer's Glue

IMG_0020

If you want your eggs for a wreath, and need a pick in the end, start here. If not skip to wrapping your yarn.
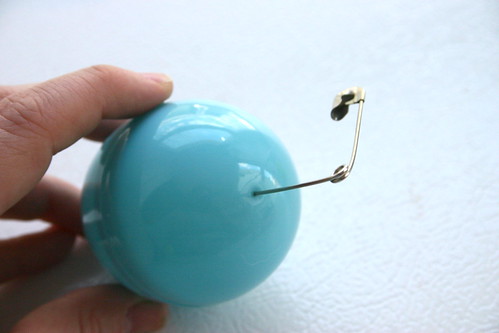
Take your safety pin and poke a hole in the bottom of your egg.

IMG_0021

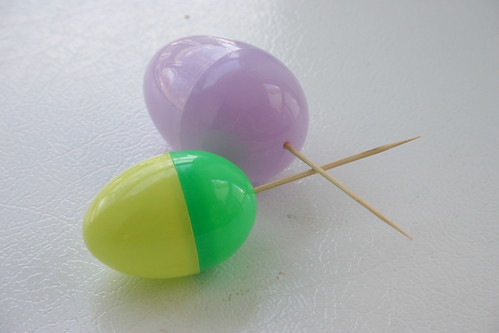
Insert your tooth pick or skewer.

IMG_0022

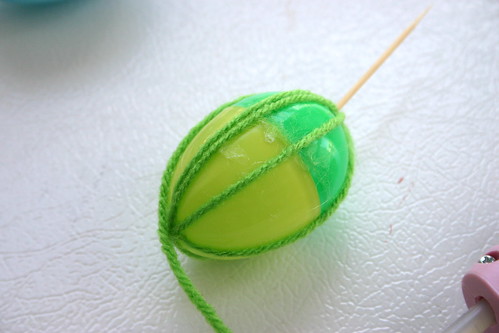
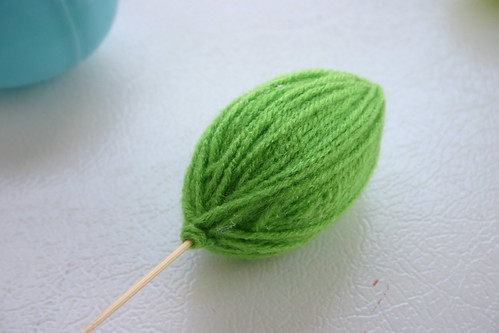
Starting with a dab of glue, start wrapping your yarn. Here is my vertical egg started.
Every couple wraps add a dab of glue.

IMG_0024

Continue until your egg is complete!  End with some glue too.

IMG_0025

If you like a more random yarn egg, start with a dab of glue and wrap all over.

IMG_0026

Continue until your egg is covered, and end with glue. I found this egg lost its shape a little.

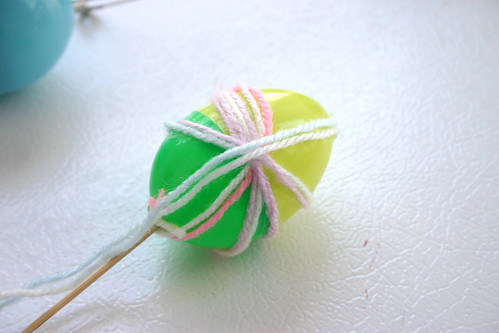
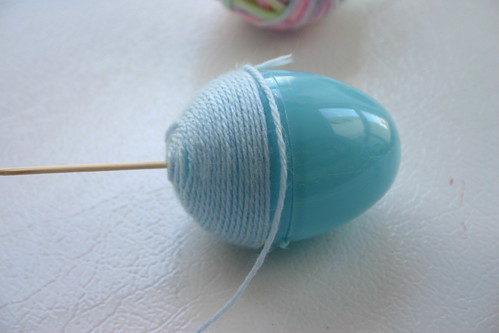
Now, the most difficult egg ( in my opinion) the horizontal.  I ended up working from the top to the middle with one yarn and glue.

IMG_0028

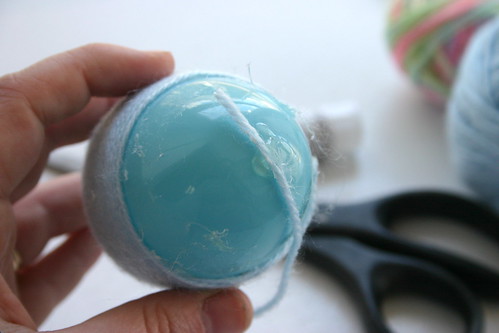
Then worked the bottom to middle with another piece of yarn.

IMG_0029

Put them all together and what do you get? Another quick and easy interchangeable wreath!  Here was my fall, and winter wreaths!

IMG_0031

IMG_0032


Thursday, March 17, 2011

Happy St. Patricks Day!

We really don't celebrate St. Patricks Day, because it is my baby brother's birthday. And the funny part of being born on St. Patricks Day? He won't even eat Corn Beef and Cabbage. So my mother makes two meals, one for him and one for the rest of us!

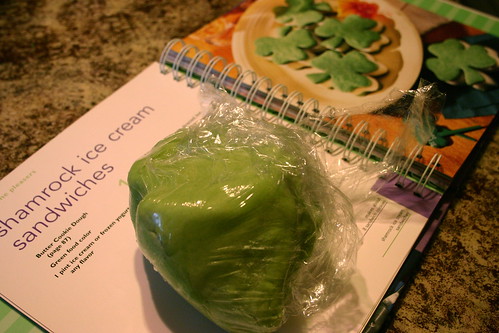
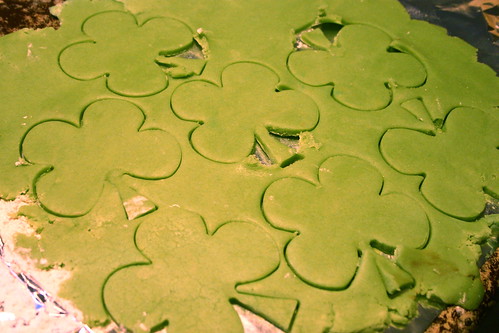
Anyways, in an attempt to celebrate I decided to make some cookies!

St Patty's Day Cookies

And I may just throw in the towel after this one.  I am not a cookie maker.  Cakes I can handle, cookies not so much.

St Patty's Cookies In Progress

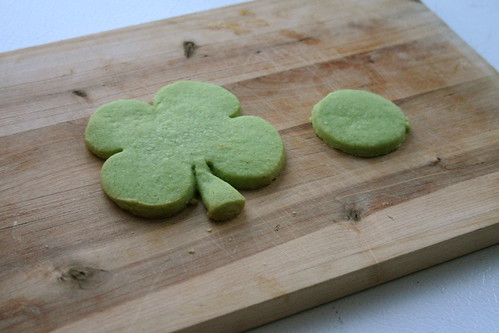
If your a friend on facebook, you may have seen my nice message to my shamrock cookie cutter. We are not friends anymore, actually it has been banished to the playdough cutter pile.  Every stem came off, either before or after I baked them. Grumble.

So, no they did not become those super cute ice cream sandwiches. But I did get 6  shamrocks to give to my brother.  But the rest are circles. Sigh.

St.Patricks Day Cookies

Hope you have a Happy St. Patricks Day!