Showing posts with label Easter. Show all posts

Wednesday, July 13, 2016

{Recap} March 2016


You would think March would have been calm for us with a newborn. 
But nope. It wasn't! 


Once the new range was in, we had to decide what to do with the cabinets.
Under the old counter top stove, we had our pot and pan cabinet and I did not want to lose that.
And above and below the old oven were cabinets that I didn't want to lose both. 
So it took some brainstorming.... more on that later!


And when ou have a newborn, and need to cook dinner. 
You put them on the amazing island your hubby built. 
The top is about 4 x 6 feet, so there is plenty of room!


For the past couple years these little birds have visited us in the wreath on the front door!
It's amazing how loud their call is, for being so little. 
And that I can lift the kids up to get a good look!


Ah, wishful thinking.
In March I began to try to figure out the garden. 
Like every year, on paper things look great.
But then I get outside, and decide to change things up.
To be honest, this year I threw plans out the window and just wing it. 


Ah, Easter Egg dying. Quite the feat with three sets of hands!
Poor Wyatt looked like the hulk by the end. So much dye on his fingers!


Ugh. The worst part of the month if not year.
Our beloved Golden Retriever, Cooper passed the day before Easter.
He passed in his sleep, and that's how I found him.
We didn't see it coming either. He went out the night before like any other night.
We got Cooper two months after we got our house, he was 9.
Some were surprised he was only 9, but we weren't.

We were told when we first go him, he had a heart condition and should be returned to the breeder.
We felt if we returned him the breeder most likely would put him down.
So we just said if we get 6 months or 6 years we would give him the best, and we did.
Losing a pet is hard, losing a pet with three kids that sort of understand is harder.
Even to today, they will randomly ask questions and it still breaks my husbands and my hearts.

Wait? What is this? A Craft? You say?
Yes. The morning of Easter I realized the toes of Ellie's "Cinderella" shoes needed some love. 
So, I went ahead and painted the toes with black shoe polish! 
Mom Win! If you ask me! The shoes still fit, and they look almost new again!
*And yes, I did do both! ha!*

Friday, April 22, 2011

Happy Accident!

The other day I was working on a recipe that called for real butter ( which we rarely have in the house) and it needed to be soft, so impatient me said "oh just stick it in the microwave." 
Ugh. Bad idea. I got enough that was still soft and solid but then the rest was all liquid.

Butter Bunny

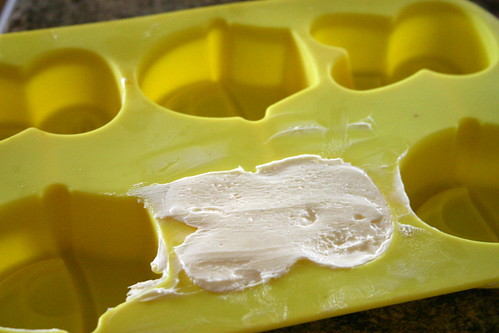
To not waste the butter, I put it in a silicone mold I had and wouldn't you know. It worked!
So, on Sunday we will have Bunny Butter with our rolls!

It reminded me of the rose butter mold my grandmother had oh so many years ago!

Have a happy and healthy Easter! 
See you all on Monday!

Tuesday, April 19, 2011

Decorative Easter Eggs!

Each year I meticulously or not meticulously blow out eggs to dye.  And that's all fine and good, but then you have to either throw them out, or hope they don't rot by next year.

So after my successful candy corn and conversation hearts, I said why not!

Painted Pretty!

Using the same steps as the corn and hearts, you create your dough.
1 Cup Salt, 1 Cup Flour and 1/2 Cup water.

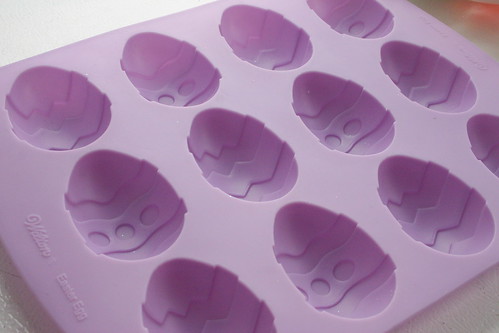
Then instead of free forming or cutting out my eggs, I used a mold I was given.

Easter Egg Mold

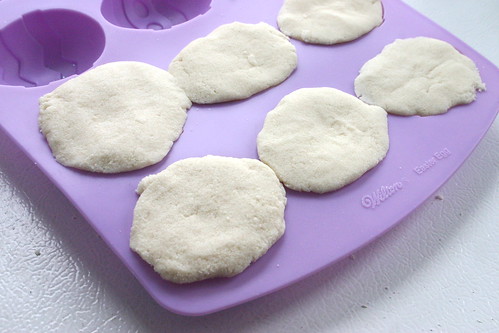
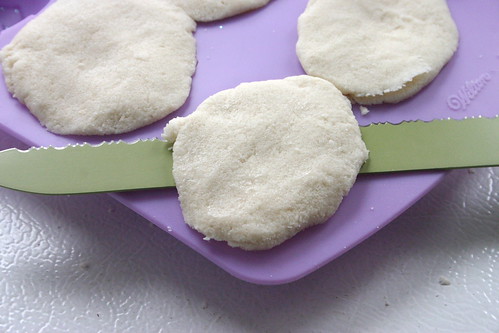
I just filled by hand until overflowing...

Fill with Salt Dough

And trimmed with my bread knife...

Trim Tops with knife

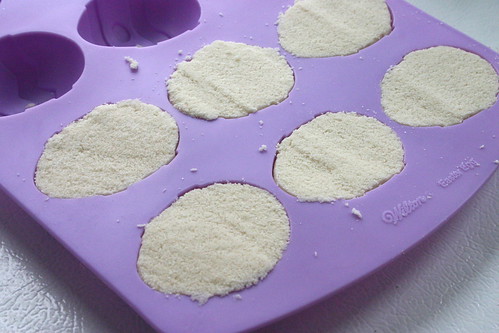
And they are ready to go in the oven!

Ready to dry out

Place on your baking sheet and stick in your preheated oven 400 degrees ( that is now off) and leave in over night!

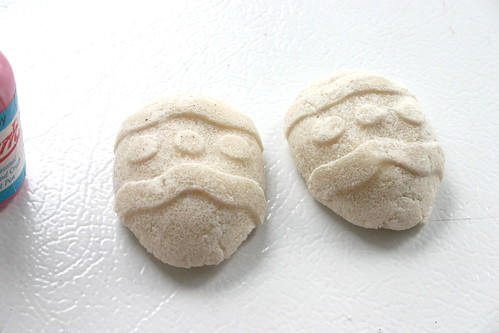
Dried and ready to paint!

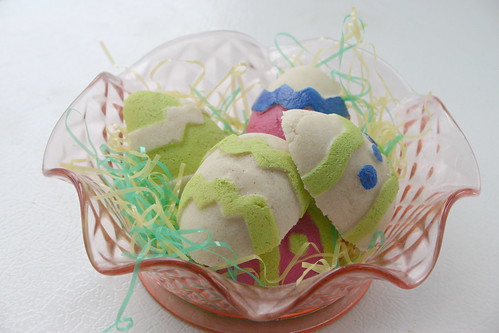
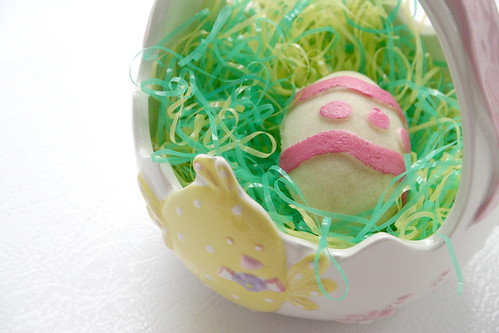
Paint and enjoy year after year!

Painted Pretty!

Friday, April 8, 2011

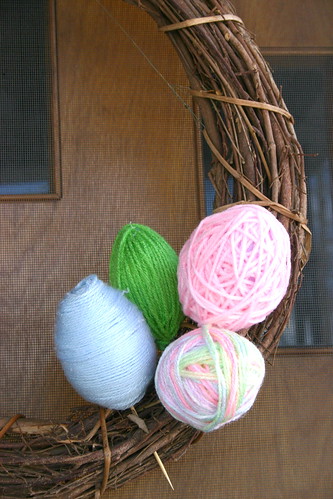
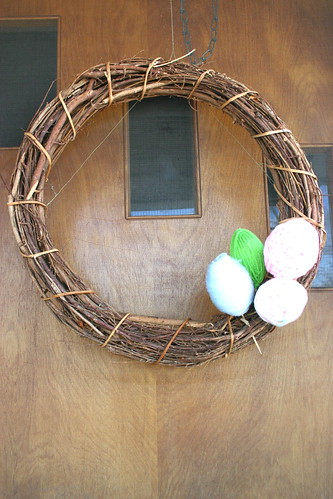
Yarn Egg Wreath

What do you think of my yarn eggs on my wreath? I feel like I want to add something a little more but haven't found the perfect something.

I only made enough (so far) for my wreath but these would be cute in a bowl also!

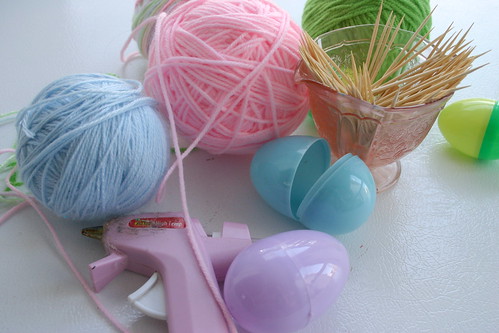
Here's what you need:
Plastic Easter Eggs
Yarn
Tooth Picks or Skewers
Safety Pin
Hot Glue, Or Elmer's Glue

IMG_0020

If you want your eggs for a wreath, and need a pick in the end, start here. If not skip to wrapping your yarn.
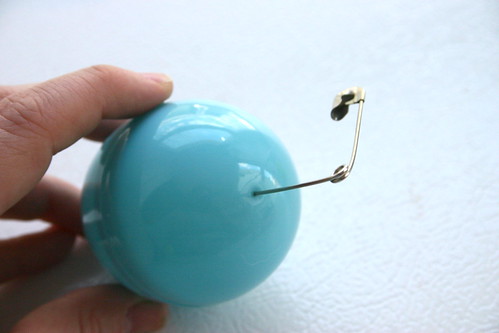
Take your safety pin and poke a hole in the bottom of your egg.

IMG_0021

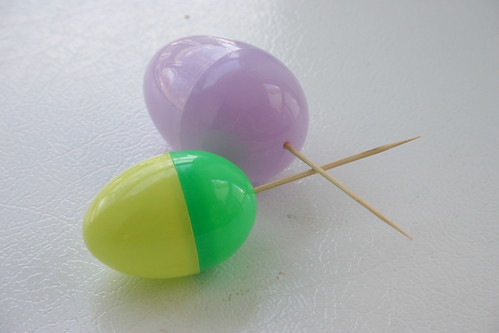
Insert your tooth pick or skewer.

IMG_0022

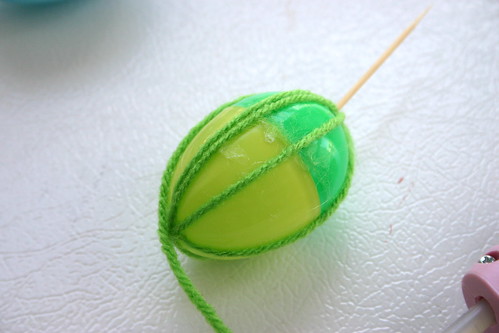
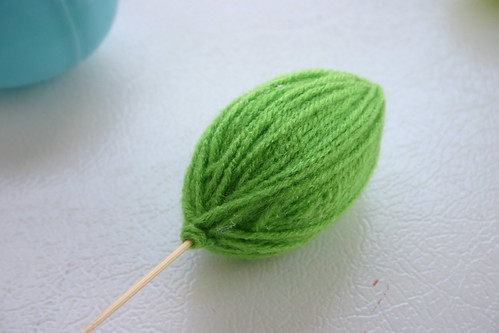
Starting with a dab of glue, start wrapping your yarn. Here is my vertical egg started.
Every couple wraps add a dab of glue.

IMG_0024

Continue until your egg is complete!  End with some glue too.

IMG_0025

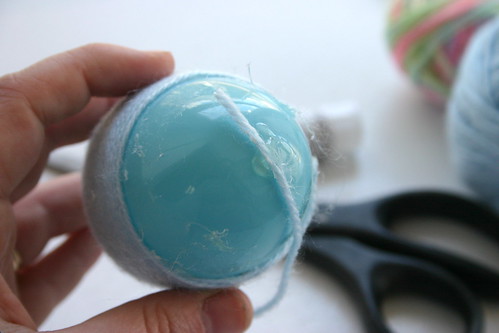
If you like a more random yarn egg, start with a dab of glue and wrap all over.

IMG_0026

Continue until your egg is covered, and end with glue. I found this egg lost its shape a little.

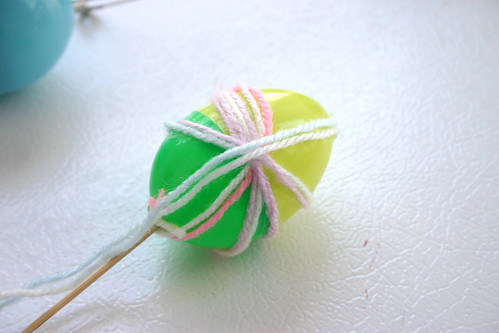
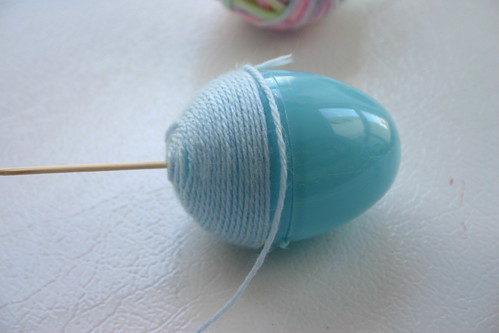
Now, the most difficult egg ( in my opinion) the horizontal.  I ended up working from the top to the middle with one yarn and glue.

IMG_0028

Then worked the bottom to middle with another piece of yarn.

IMG_0029

Put them all together and what do you get? Another quick and easy interchangeable wreath!  Here was my fall, and winter wreaths!

IMG_0031

IMG_0032


Friday, April 2, 2010

just in time for Easter!

So, let me be honest for a moment. I don't decorate for all the holidays, but I thought now that I have a child I would attempt egg dyeing. Well..  First things first. Carter who is just over one, played with a cup of water... While a friend and I worked on some eggs.

I decided that I wanted to do some blown out eggs that I could keep for next years decorating. So I started to blow out some eggs, and man is it hard! So.. I almost gave up but then it hit me!  My vacuum has a spot where you can switch the hose and blow. Hmmm. Could it be too good to be true?  Nope! It worked. Yes. I am confessing that instead of attempting to blow the eggs out,  I took and used my vaccuum hose!

All I did was, using a nail ( My sister does these every year, and she helped me get started) I slowly turned it until it pierced one end, and then repeated it on the other end. I actuallly did all my eggs, and then got my vacuum out.  I put the egg right on the end of the hose held on tight and turned the vacuum ( with my toe!) and it worked like a charm!  I got my whole dozen blown out in a couple minutes, with one explosion. I think I squeezed to tight and was wearing the egg. But oh well it was the last one!

Here are some pictures of my eggs!